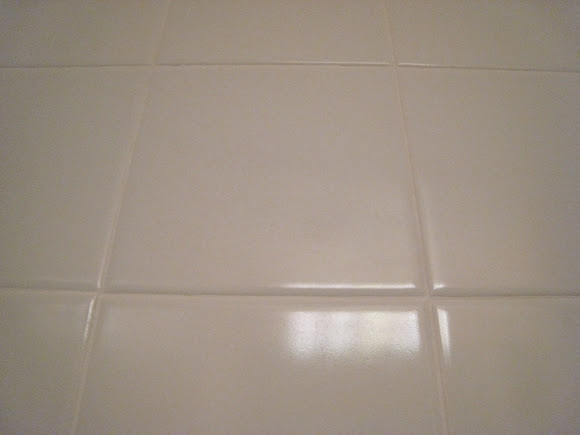
I am pleased to announce my shower "renovation" has been successfully completed! Actually I have yet to shower in there but here's hoping nothing completely unexpected and tragic happens when I do.
As a reminder, my plan was to:
1// clean grout and tile with the bathroom cleaner
2// clear out any loose grout and fill in all grout holes
3// coat grout with whitener
4// seal the grout
5// re-caulk everything
1// clean grout and tile with the bathroom cleaner
2// clear out any loose grout and fill in all grout holes
3// coat grout with whitener
4// seal the grout
5// re-caulk everything
In my previous post, I had gotten #1 and part of #2 done when I got diverted. Picking up where I left off, here are the rest of the details, and the final reveal!
Day 2, continued:
I waited the prescribed 3 hours for the soap dish to get nicely re-secured to the wall:

As that was wrapping up, I tackled the rest of the caulking. I was mildly horrified to discover most of it was wet when I pulled it out, indicating leaks. When all those bits were cleaned up, we were looking like this:


Time to fill all those gaps with grout! It was so easy - I just cut the tip of the grout tube's nozzle at an angle as instructed and it formed the perfect applicant. I didn't take any action shots but here's my first attempt (filling the gaps got easier as I got the hang of it):

Following instructions, I wiped up the excess and then let the stuff dry for a good 48 hours before moving on.
Day 3:
I couldn't quite wait 48 hours before doing anything, so I started applying some of the whitener. As a reminder, here's my arsenal:
 |
| [Clorox Bathroom Cleaner; Pre-Mixed White Tile Grout; Homax Grout Coating/Whitener; Homax Grout Sealer] |
The whitener is applied with the foam nozzle - I felt a bit like I was using white-out for the grout. Which is guess is essentially true haha. You're supposed to let it dry 4+ hours then wipe the excess off of the tiles, which was really easy. Here's an after shot (also, notice the fixed soap dish!)

Day 4:
With all the grout dry, I finished up applying the whitener and after it dried, the sealer. Steps 3 and 4 done so quickly! The sealer made no visual difference but here's a photo anyway - look how white!!!!

Thennnn finally #5, caulking! I also took no action photo here but mostly because it was a mini-disaster as my first attempt using a caulk gun. I finally got it right though. Took 2 layers though because I didn't put it on thick enough the first time.

THE REVEAL:


YAYYYYYYY
*Note: Post contains affiliate links
No comments:
Post a Comment