

My closet upgrades happened in two phases:
1// I replaced the interior shelves with shiny new ones from the Container Store (elfa).
2// I converted the bi-fold doors to "French" doors and added new handles.
Going in chronological order, the interior upgrades allowed for multiple shelves as well as multiple levels of hanging space (hallway closet):

At the bottom there is space for a small suitcase and bins for clothes awaiting hand washing and dry cleaning.
This upgrade also really took advantage of the space in the other closet, which has two different depths. On the left (deeper) side I was able to include an additional hanging rod for dresses, and shoe racks running the entire depth. There's even room for my steamer to hide in there now!


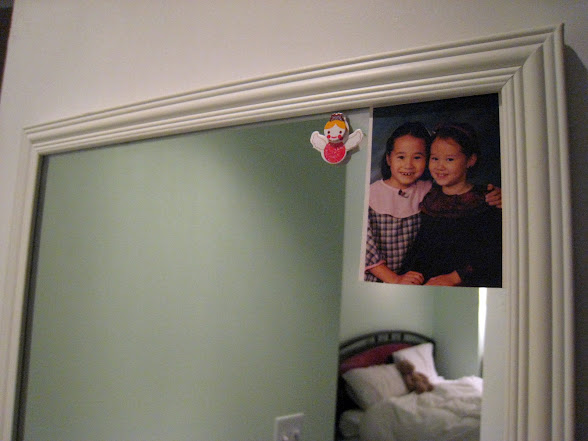
Some of the major advantages to converting the doors are the increased access and the extra hanging space on the back of doors for purses (above) and a mirror (yes, that's little versions of my sister and me!):

As for the bi-fold to French door conversion, I first took the doors down and removed the hinges which had previously held the two pieces together. In typical bi-fold doors, one side is anchored to the floor and the top track while the other side slides. I modified the sliding side to also be anchored by adding hardware to allow both doors to swing open independently (ahh the closeup is ugly I promise I vacuum!):

After patching up holes from the hinges and adding a fresh coat of paint, I attached a magnet to each closet door frame and metal strikers to the backs of the newly separated doors to keep them from swinging around all crazy:

Finally, I added the new handles and voila!

For funsies, the before and after again:


No comments:
Post a Comment